
🎥 Video walkthrough
Step-by-step guide
Follow these steps to set up your RTB action.1. Select RTB action
Choose Real-Time Booking Action from the list of available action types to begin the setup.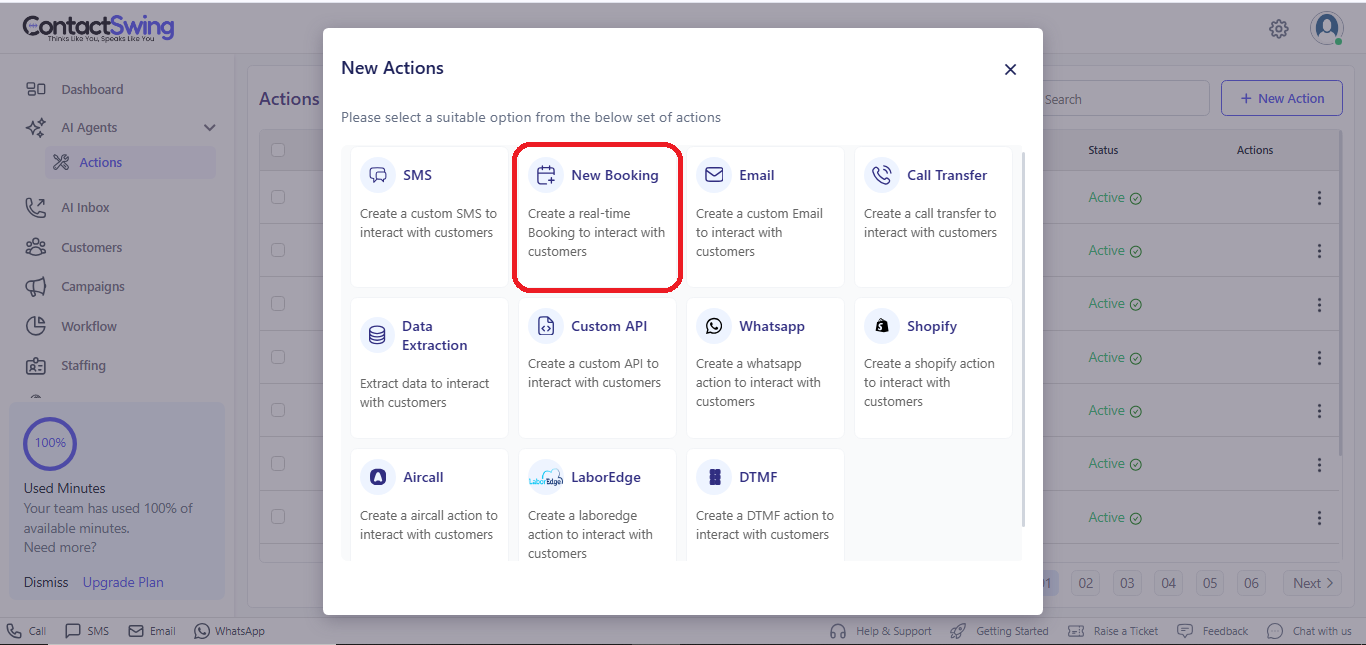
2. Configure your RTB action
Provide the following details.- Name: A clear name for the action (for example, “My Real-Time Booking Action”).
- Description: A short explanation of what this RTB action does (for example, “Action used to schedule bookings during calls”).
- Action Timing: Select when this action should run within the workflow.
- Email Type: Choose the email provider (for example, “Gmail”, “Outlook”).
- Email: Select the specific email address to use for booking communication.
- TimeZone: Set the time zone that should be used for booking slots.
- Buffer Time: Define the buffer time between bookings, if needed.
- Do not send Email on Confirmation: Toggle on if you do not want to send a confirmation email after a booking is created.
- Round Robin: Toggle on to distribute bookings in a round-robin manner; when enabled, the second customer will be assigned to the sub-account email for the call.
- Follow up Type: Select the follow-up method (for example, “Call”, “SMS”).
- Booking Timings: Choose the time ranges when bookings are allowed.
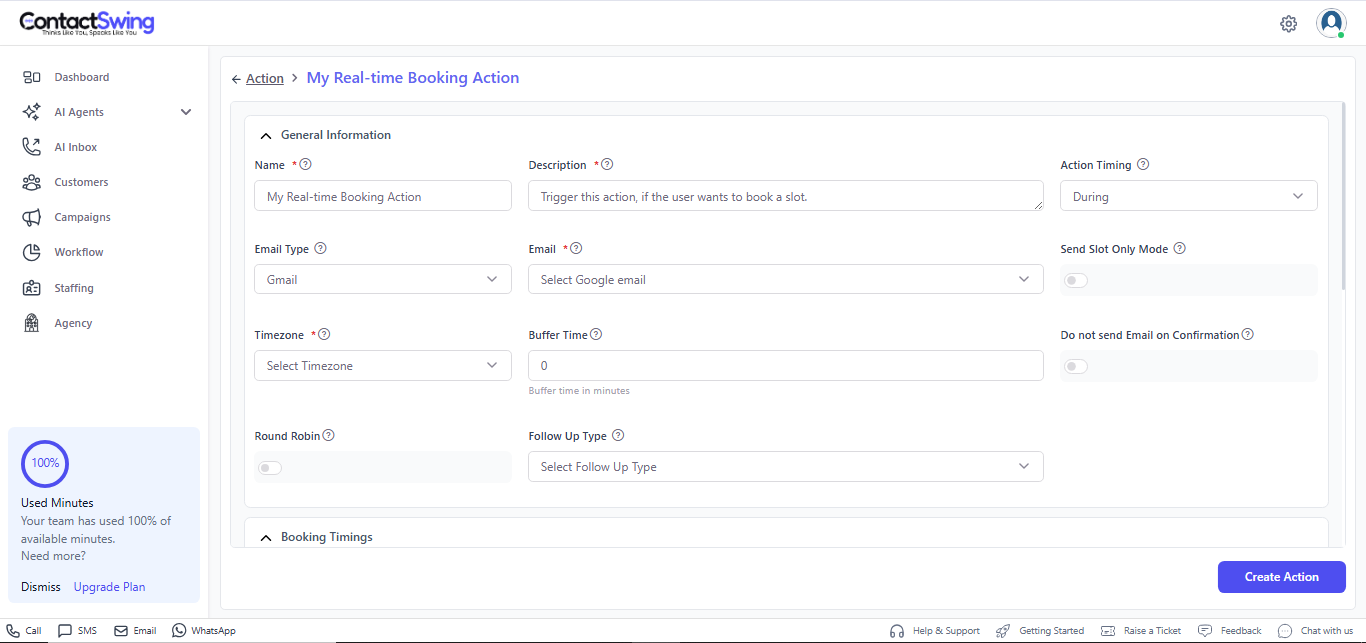
3. Create the action
Once all required fields are filled and your Google Calendar is connected, click Create Action to save and activate your real-time booking action.Example real-time booking action setup
- Name: My Real-Time Booking Action
- Description: Action for scheduling bookings during calls
- Schedule a Booking with: Google Calendar