> ## Documentation Index
> Fetch the complete documentation index at: https://docs.contactswing.ai/llms.txt
> Use this file to discover all available pages before exploring further.
# Multi-Tenant Agency Configuration
Set up and manage your agency environment by configuring branding, domains, pricing, customers, and module access. This allows you to onboard multiple customers under your own brand while maintaining full control from a single platform.
## 🎥 Video walkthrough
## Step-by-step guide
Configure your agency’s basic branding and legal information.
* **Name**: Enter your agency name
* **Custom Logo**: Upload your brand logo
* **Favicon Logo**: Upload a favicon for browser tabs
* **Privacy Policy URL**: Add your privacy policy link
* **Terms & Conditions URL**: Add your terms page
* **Website URL**: Enter your agency website
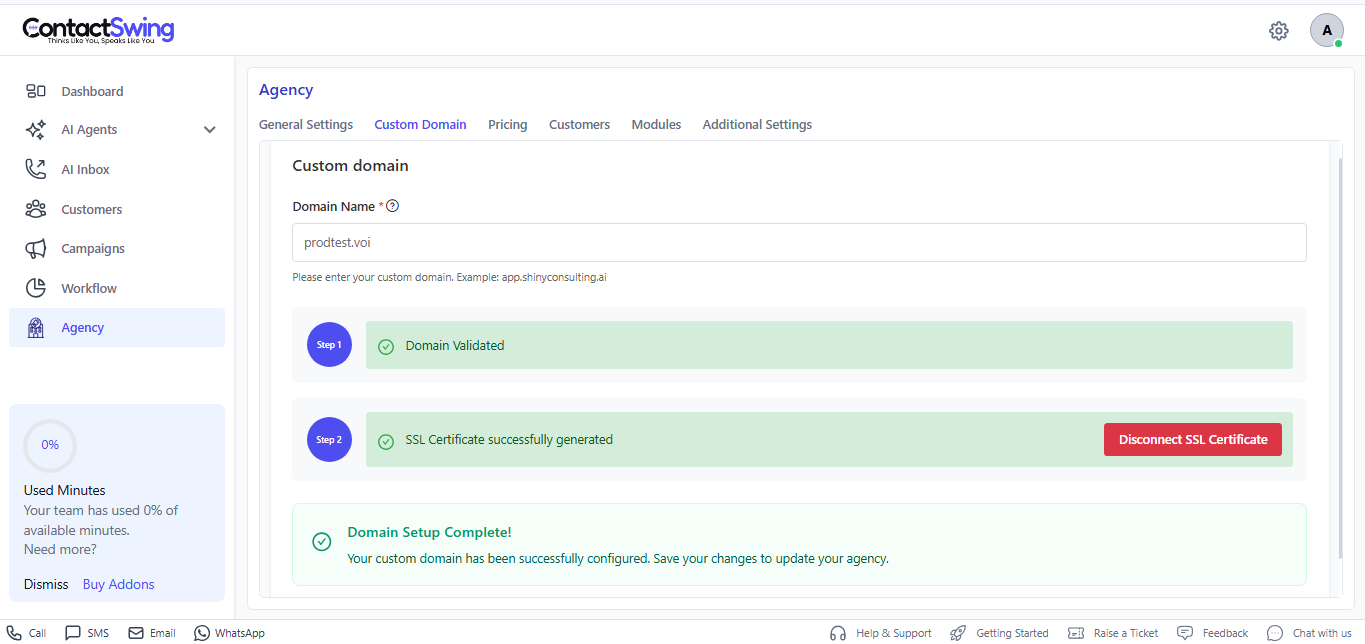
Configure a custom domain for white-label access.
* **Domain Name**: Enter your custom domain
* Ensure the **SSL certificate** is generated and active
Set up billing by connecting your Stripe account.
* **Select Country**
* Click **Connect** to link your Stripe account
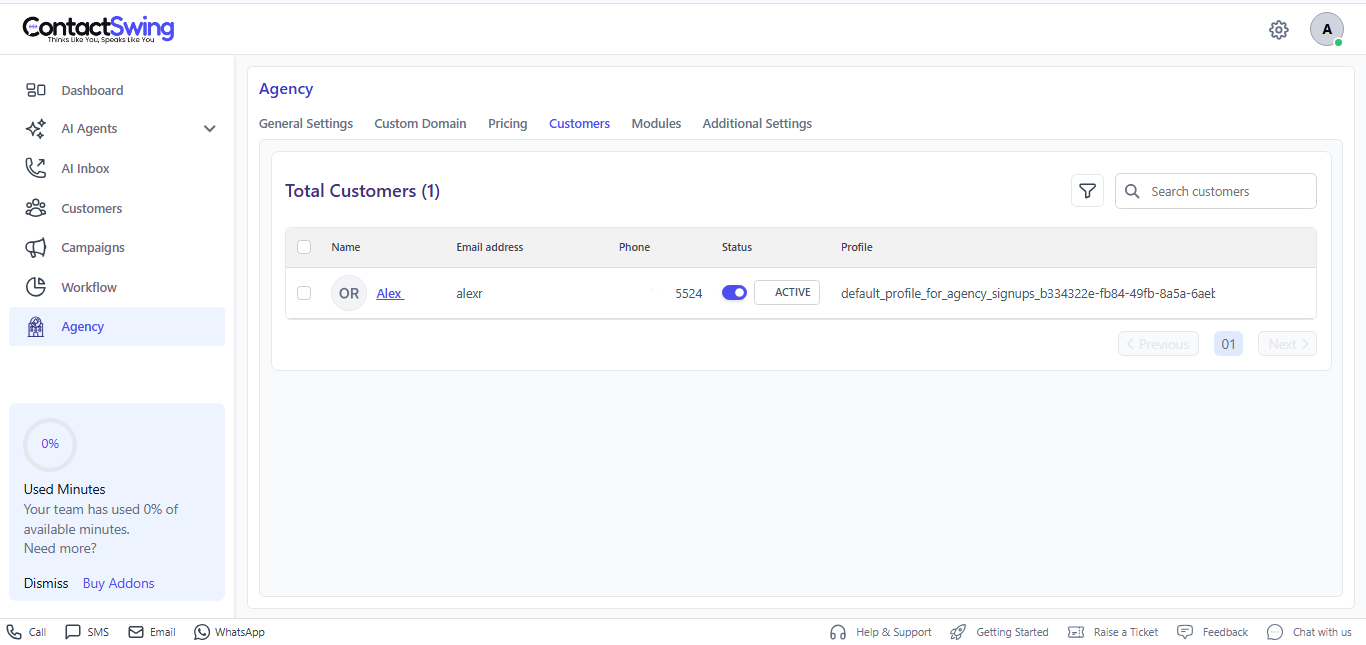
Add and manage your customers here.\
Each added customer (User B) will access the platform under your agency configuration.
* Click **Add Customer**
* Enter customer details
Enable the modules you want to provide access to your customers.
Available modules include:
* Actions
* Visibility
* Integrations
* Assistants
* Billing
* Call
* AI Inbox
* Campaigns
* Chat Assistant
* Customers
* Emails
* Knowledge Base
* Phone Numbers
* SMS AI Agent
* User and Controls
* Users
* Voice AI Agent
* Assistant Template
* Email AI Agent
Configure support and email preferences.
* **ContactSwing Help Center**: Enable if support access is required
* **Email Configuration**: Set up outbound email settings
**Notes:**
* All branding, domain, and pricing are fully controlled by the agency.
* Customers access the platform using the agency’s configured domain and branding.
* Module permissions can be updated at any time.